Let’s face it—after a long day juggling work, family, and the million little things on your to-do list, the last thing you want is a complicated dinner plan. Enter Tini’s Mac and Cheese: a creamy, cheesy hug in a bowl that’s as straightforward to make as it is delightful to eat. This dish has taken the internet by storm, and for good reason. It’s the epitome of comfort food, perfect for those evenings when you need something indulgent yet uncomplicated.
Why You’ll Love Tini’s Mac and Cheese
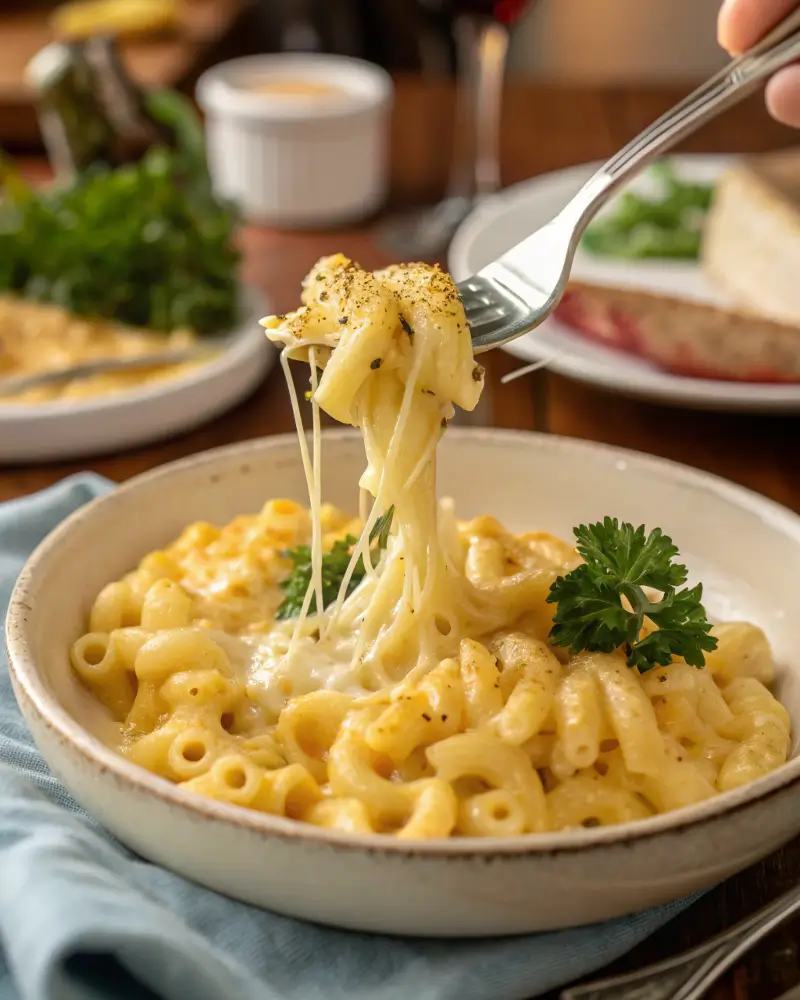
- Creamy Dreaminess: This recipe boasts a luscious cheese sauce that envelops each pasta curl, making every bite a gooey delight.
- Three-Cheese Harmony: The combination of mozzarella, Colby Jack, and sharp cheddar creates a symphony of flavors that dance on your taste buds.
- Family-Friendly: Even the pickiest of eaters will find it hard to resist this cheesy masterpiece.
Ingredients

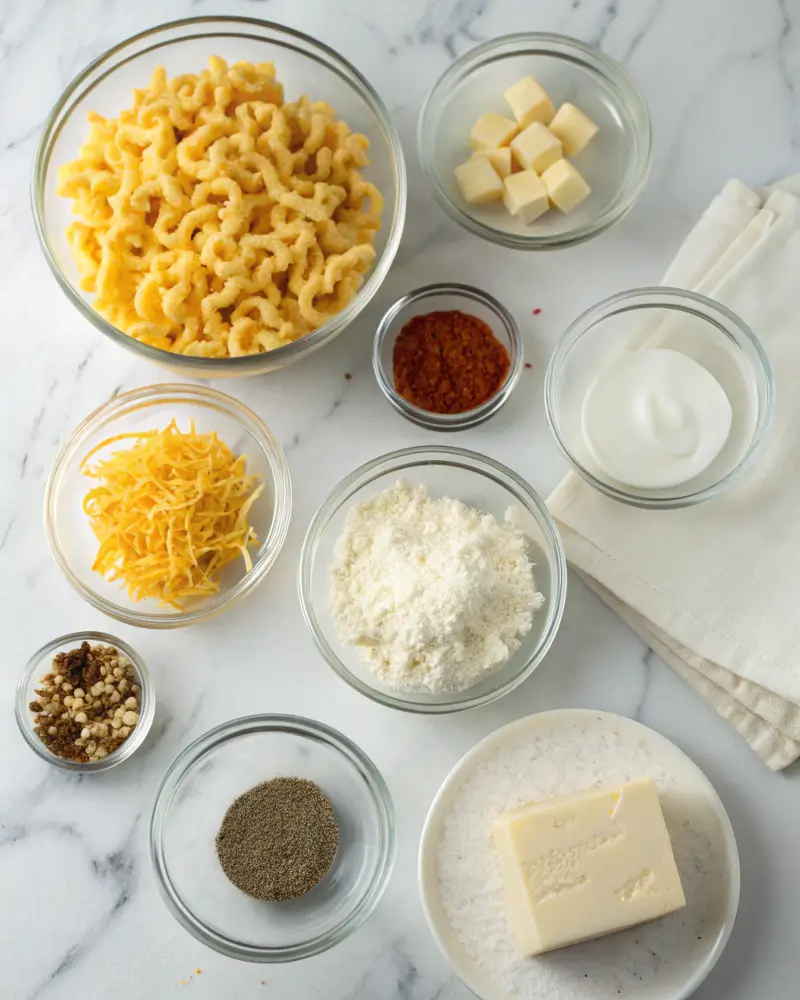
- 1 pound cavatappi pasta
- 1 pound mozzarella cheese, shredded (opt for a block from the deli for easier shredding)
- 1 pound Colby Jack cheese, shredded
- 8 ounces sharp cheddar cheese, shredded
- 1 teaspoon garlic powder
- 1 teaspoon smoked paprika
- 1 teaspoon coarse salt
- ½ teaspoon ground black pepper
- 3 tablespoons salted butter
- 3 tablespoons all-purpose flour
- 1 (12 oz.) can evaporated milk
- 2 cups heavy cream
- 1 tablespoon Dijon mustard
- Fresh chopped parsley for garnish
Step-by-Step Instructions

1. Prep Your Oven and Pasta
Start by preheating your oven to 375°F (190°C)—you’ll want it nice and hot by the time your cheesy masterpiece is ready to bake. While that’s heating up, bring a large pot of salted water to a boil and cook the cavatappi pasta until it’s just al dente. You want it firm enough to hold up to the creamy sauce later. Drain the pasta and set it aside—you’re about to take it from basic to brilliant.
2. Shred That Cheese (Yes, All of It!)
If you’re tempted to buy the pre-shredded stuff, we get it—it’s quick. But trust us here: shredding your own mozzarella, Colby Jack, and sharp cheddar is worth the few extra minutes. You’ll get better melt, more flavor, and no weird additives. Once shredded, mix all the cheeses together in a large bowl. Split it into two piles—half for the sauce, half for layering and topping later.
3. Mix the Spices
In a small dish, combine garlic powder, smoked paprika, coarse salt, and black pepper. This is your flavor magic—simple, but deeply satisfying. You’ll use half in the roux and the rest to season the cheese sauce later.
4. Make the Roux (a Fancy Word for Butter + Flour)
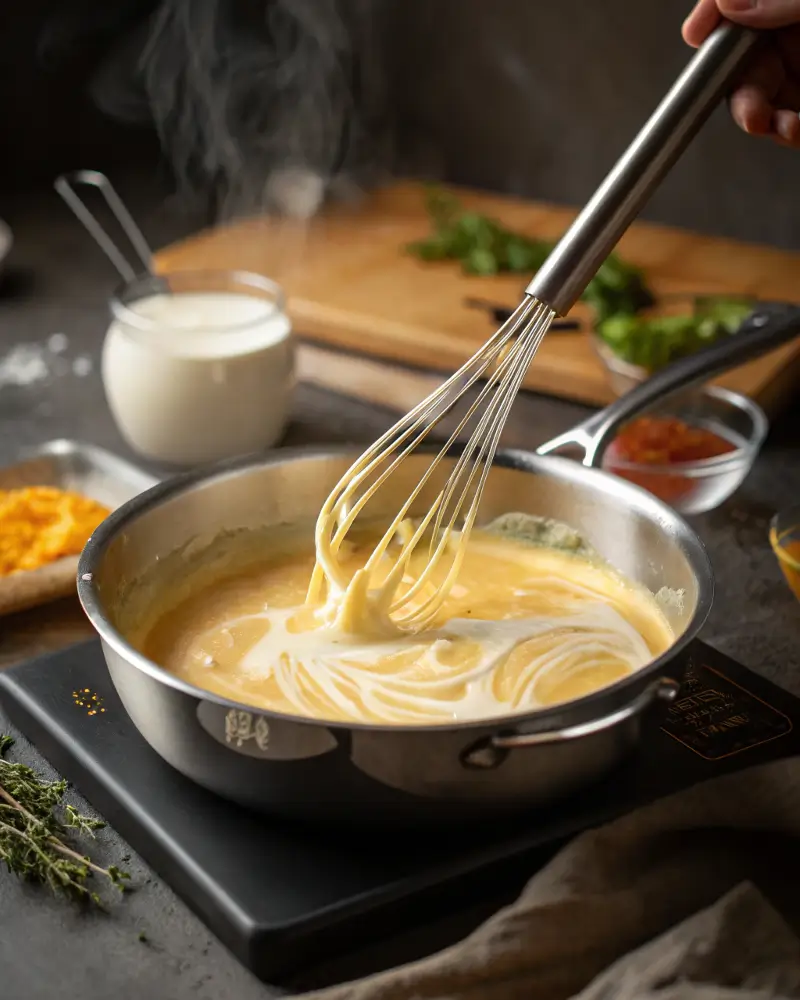
Melt the salted butter in a large skillet over medium heat. As soon as it’s bubbly and fragrant, whisk in the spice blend and flour. Keep whisking for about 1 to 2 minutes until the mixture turns slightly golden and starts smelling nutty. This roux is the base of your creamy sauce and ensures that dreamy texture we all crave.
5. Whisk in the Creamy Goodness
Slowly pour in the evaporated milk while whisking constantly, then follow with the heavy cream. Whisk until the mixture is smooth and begins to thicken slightly—think silky rather than soupy. Stir in the Dijon mustard and the remaining spice mix for a subtle tangy kick that takes things up a notch.
6. Cheese, Please!
Time for the first big cheese moment. Gradually add in half of your shredded cheese mix. Stir continuously until the sauce becomes velvety, gooey, and thick enough to coat the back of a spoon. You’re looking for that perfect “I want to dive in” consistency.
7. Bring Pasta and Sauce Together
Take that beautiful pot of pasta and fold it gently into your luscious cheese sauce. Be generous here—make sure every spiral is coated. The sauce might look a little thick, but trust the process. Once baked, it settles into that perfect creamy texture.
8. Layer It Up
Butter a 9×13-inch casserole dish (or spray it with cooking spray). Spread half the mac and cheese mixture into the bottom of the dish. Sprinkle half of the remaining cheese mixture over it like a cheesy blanket. Repeat with the second half of the pasta and finish with the rest of the cheese on top. It’s okay to overdo it here—this is mac and cheese, not a salad.
9. Bake Until Golden and Bubbling
Pop the casserole into your preheated oven and bake uncovered for about 30 minutes. You’re looking for a bubbly, golden-brown top with a few crispy cheese edges around the sides (aka, the best part). Want that top extra crispy? Turn on the broiler for the last 3–4 minutes—but keep a close eye. One minute it’s perfect, the next it’s toast (literally).
10. Rest, Garnish, and Serve
Once out of the oven, let the mac and cheese rest for 5–10 minutes. This helps it set up a bit and makes serving way easier (and cleaner!). Sprinkle with fresh chopped parsley for a pop of color and a little herby contrast.
Cooking Tips

- Shred Your Own Cheese: Pre-shredded cheeses often contain anti-caking agents that can affect melting. Shredding your own ensures a smoother sauce.
- Choose the Right Pasta: Cavatappi’s ridges and spirals hold onto the cheese sauce beautifully, but feel free to use your favorite short pasta shape.
- Spice It Up: For a kick, consider adding a pinch of cayenne pepper or red pepper flakes to the spice mix.
Personal Anecdote
The first time I made Tini’s Mac and Cheese, it was for a family gathering. I was a bit nervous, as my family holds mac and cheese to high standards. To my delight, it was an instant hit! Even my picky eater niece asked for seconds, and my brother claimed it was the best he’d ever had. Now, it’s a staple at all our family events.
FAQs
Can I use different types of cheese?
Absolutely! While the combination of mozzarella, Colby Jack, and sharp cheddar provides a balanced flavor and texture, you can experiment with other cheeses like Gruyère or Fontina for a unique twist.
How can I store leftovers?
Store any leftover mac and cheese in an airtight container in the refrigerator for up to 3 days. Reheat in the oven at 350°F (175°C) until warmed through, or microwave individual portions.
Can I make this dish ahead of time?
Yes, you can assemble the mac and cheese a day in advance. Cover and refrigerate it unbaked. When ready to serve, bake as directed, adding an extra 10-15 minutes to the baking time to ensure it’s heated through.
Is it possible to freeze this mac and cheese?
Certainly! Assemble the dish, let it cool completely, then cover tightly and freeze for up to 2 months. Thaw overnight in the refrigerator before baking.
Conclusion
With its three-cheese blend, silky sauce, and cavatappi curls cradling every bite, this dish doesn’t just feed your family—it spoils them. And the best part? You don’t need to be a kitchen pro to pull it off. It’s easy, adaptable, and a guaranteed hit whether you’re feeding picky kids, impressing guests, or just craving something that feels like a warm hug after a long day.
From busy weeknights to cozy Sundays, Tini’s Mac and Cheese is that go-to comfort food that makes life just a little more delicious. So go ahead—grab your cheese grater, preheat that oven, and make some magic.
These easy chocolate chip muffins are truly the best of both worlds—simple, quick, and irresistibly delicious.


